
Because the only available reproduction pumps are such c**p I have been selling a bunch of Austin Healey 3000 MkIII water pump rebuild kits and many people have asked me how difficult is it to rebuild one of these pumps?
The kits cost $US68.65 which includes domestic or international shipping.
The following is a step by step procedure for this job. It really isn’t that difficult.
DISASSEMBLY

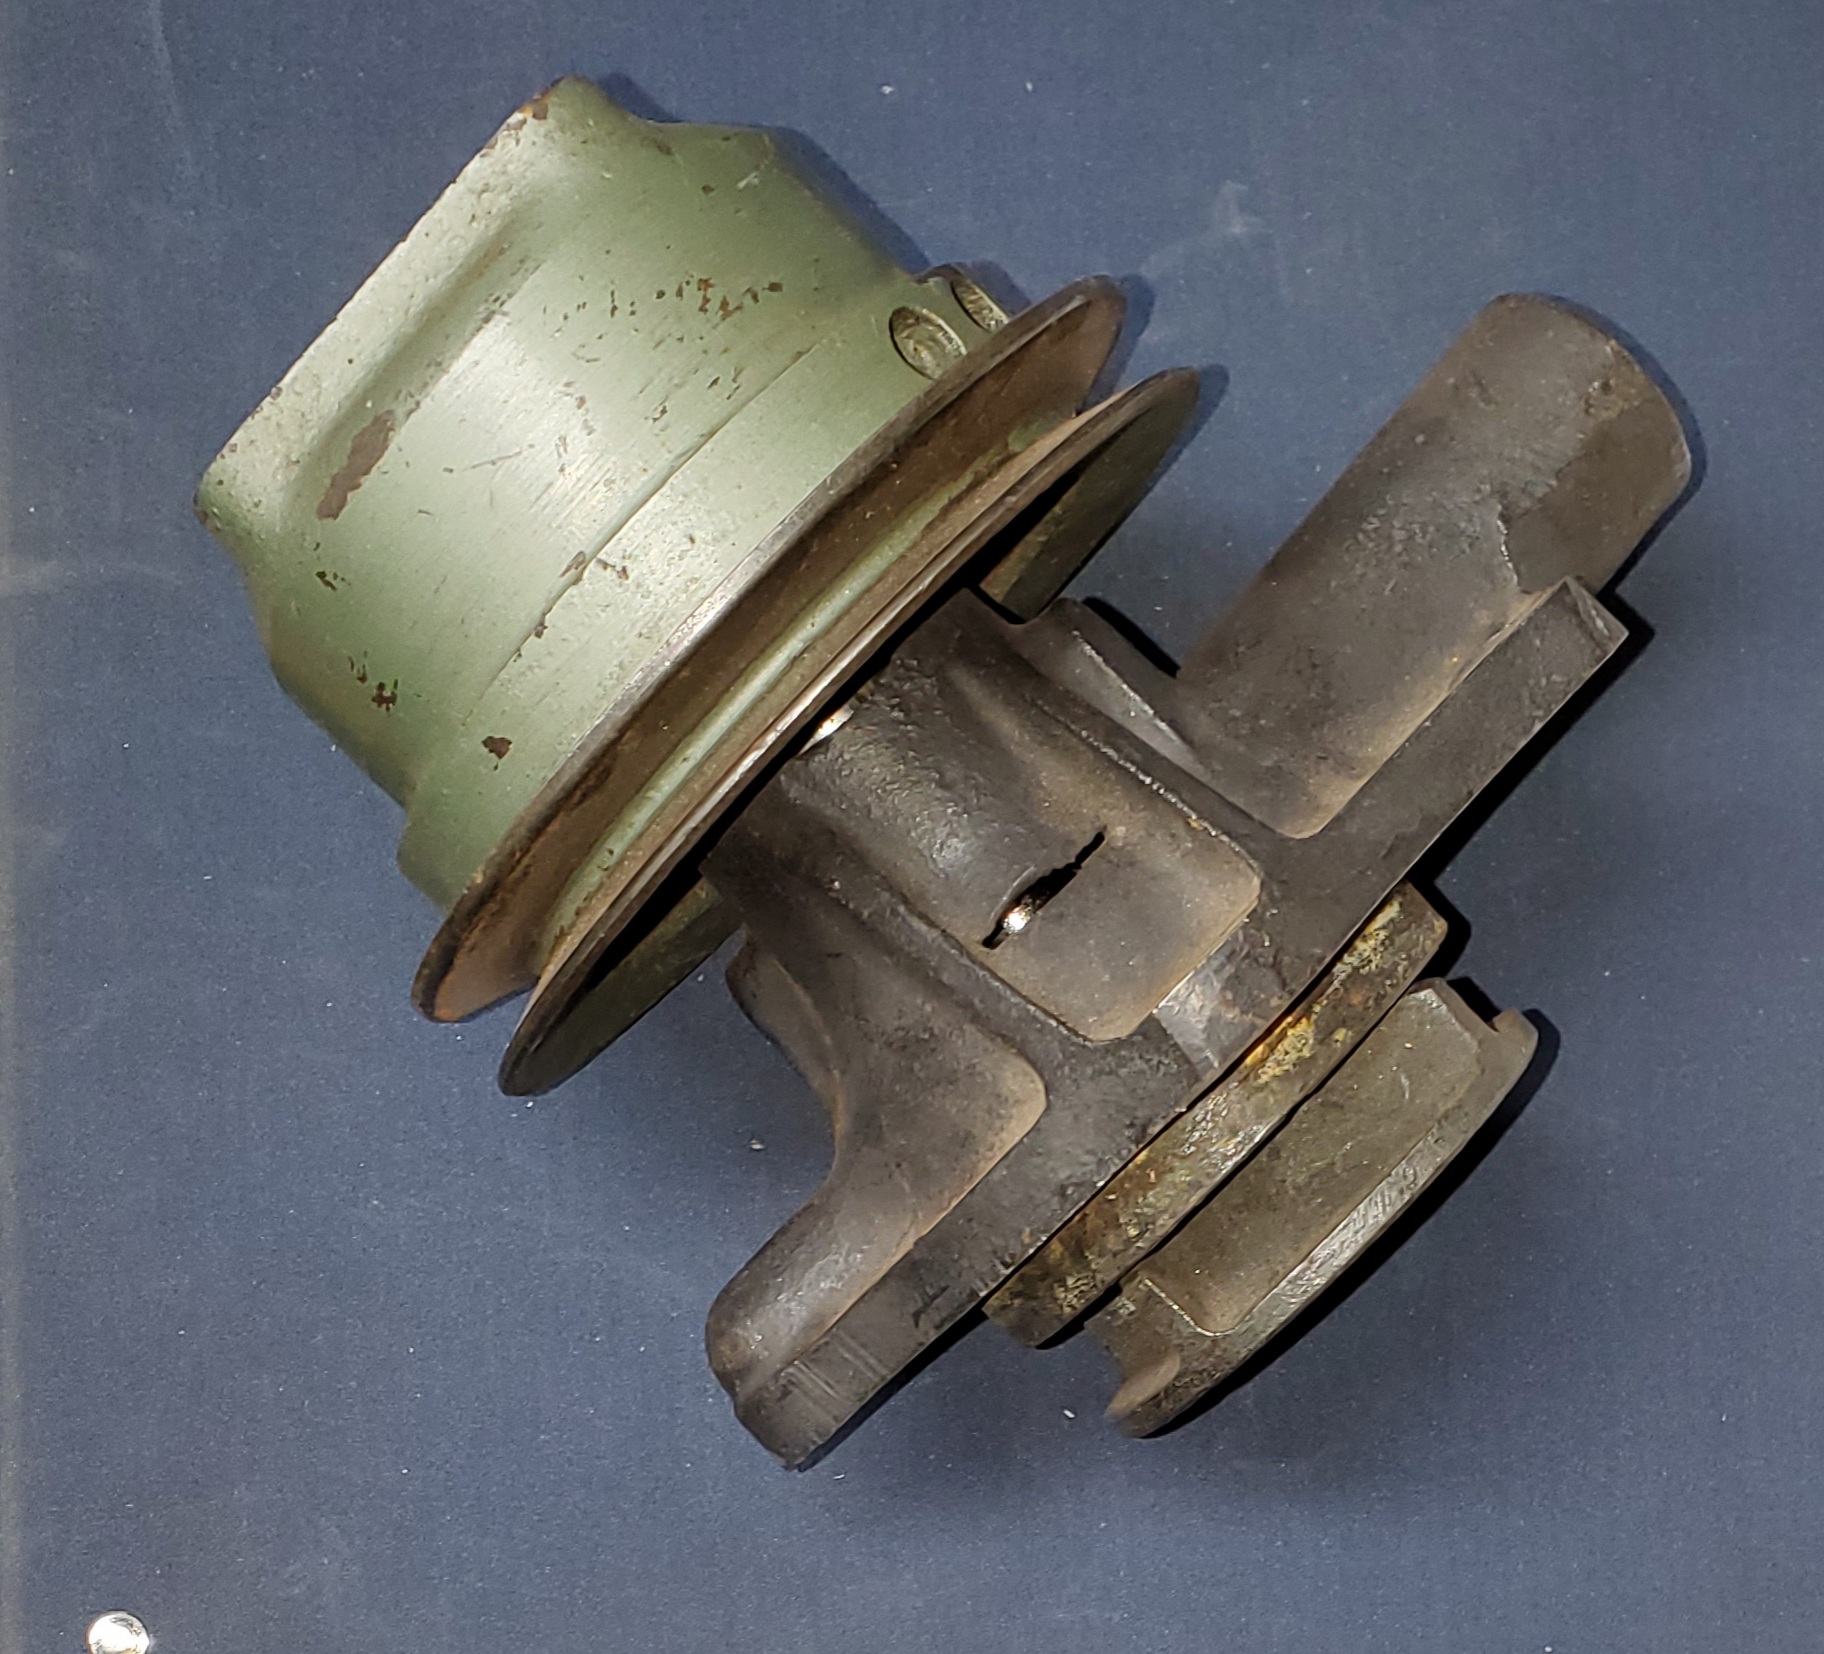
The identifying feature for the BJ8 style pump is the lack of a hex nut in the center of the pulley because they use a “press on” pulley. A puller is required to remove these pulleys.
DO NOT TRY TO REMOVE THE PULLEY BY GRIPPING THE EDGE OF THE BELT GROOVE BECAUSE THE CASTING WILL BREAK.

The puller uses a 7/16 UNF forcing screw and the mounting bolts are on a 1.375″ pitch circle diameter. It is installed to the pulley using four 5/16″ x 1 ” UNF bolts.

Once the pulley has been removed the bearing locking wire needs to be located and removed.

Using a suitable tool remove the locking wire. The wire is usually made of brass or copper.

If the wire cannot be located and removed this step may be skipped although the force required to press the bearing out will be much higher and there is a significant risk that the pump body will be damaged.
Once the wire is out the bearing and impeller can be pressed out of the body.

While pressing out the bearing and impeller assembly be careful to provide clearance for the impeller and DON’T let it drop to the floor!!

Once this assembly has been pressed from the body the impeller must be pressed off to replace the bearing and seal. The impeller casting is easily broken so care must be taken when pressing it off the bearing shaft.
ALWAYS SUPPORT THE IMPELLER ON THE SEAL FACE DURING REMOVAL.

Carefully press the bearing shaft out of the impeller.

Once the impeller has been removed the bearing and seal can be discarded.

Careful examination of the seal from this recently rebuilt pump reveals that is is badly cracked.

REASSEMBLY
After cleaning and inspecting all the parts reassembly begins by inserting the seal back into the pump BY HAND!!

I always spread a very small amount of silicone sealant on the area of the seal that seats in the pump body.

I use a large socket to press the seal BY HAND securely into its seat in the pump body.

Next the bearing is pressed into the pump body from the outer end of the body. The shorter end of the bearing shaft accommodates the pulley.
NEW NOTE: When talking with a company that rebuilds lots of heavy equipment water pumps they recommended using a a few drops of Loctite (or similar) bearing retainer at this stage just to ensure that the bearing stays put in the housing. They have found that age and normal manufacturing tolerances can result in the fit being a little loose.
 Press the bearing in using a tool which prevents load being applied to the bearing shaft.

Press the bearing in until the groove in the bearing is aligned with the internal groove inthe pump body. Don’t go too far.

Now install the wire retaining clip into the grooves. This can be a pain to achieve as some of the bearing grooves are smaller or larger than the originals. For replacement wire try 12, 14 or 16 gauge household copper wire.

Check the sealing face of the impeller for excessive grooves.

If the grooves are not too deep you can face the impeller off by rubbing it on sand paper on a flat surface.

If the grooves are really deep you can can face the impeller off in your lathe…you do have a lathe don’t you? Use fine sandpaper to produce a smooth surface.

Once the seal face is prepared the impeller can be pressed into position. Note that the shaft is on the base of the press which prevents the bearing from taking the pressing load.
NEW NOTE: I have occasionally encountered problems with leakage between the bearing shaft and the impeller. Using Loctite (or similar) here prevents this from becoming an issue.

Sockets Make The Best of Press Tools
When the end of the shaft is level with the face of the impeller STOP.. The impeller to body gap should be something like this.

If you rotate the pump at this stage your should hear the distinct “hissing” sound of the carbon seal.
Now press the pump down into the pulley.

Again STOP when the end of the shaft is level with the end of the hole in the pulley.

YOU ARE FINISHED
BTW I have rebuild kits for all 6 cylinder Austin Healeys
$US68.65ea which includes Canada U.S. shipping.
Hello Michael:
I have purchased a 3000 water pump that is a new “old part” off shelf. My current pump is leaking badly and is after market.
It is a 3/8 belt drive. Not sure if the rubber seal and oil seal should be replaced after decades on the shelf or is there a way to soften seals while assembled. Your thoughts. 1965 Mark lll. Thanks, Dan
Dan, my experience would indicate that you should at the very least, replace the seal. The bellows are made quite thin rubber and become very fragile over time.
M
Easiest to contact me by email:
michaelsalter@gmail.com
hey are the BJ8 water pump kits available
Yes Steve they are still available.
can you send me a place to buy it please