
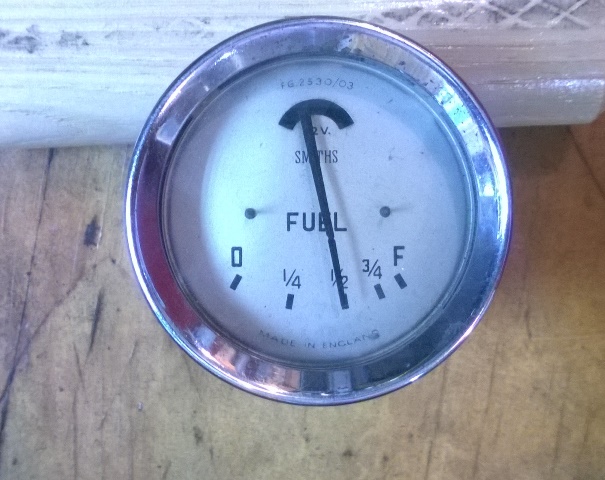
After having all the original Smith’s instruments in my latest Austin Healey restoration entirely rebuilt I was rather disappointed to discover that the fuel gauge reading was so erratic that it was difficult to know just how much fuel I had unless I stopped the car and waited for the fuel in the tank to settle.

As I was checking the gauge wiring I recalled a modification that I had seen many years back while replacing the fuel tank in an MGA which, based upon the condition of the exterior of that sender unit, must have been done in in the late ‘50’s or early 60’s. The sender units used in almost every British car that has Smiths or Jaegar instruments operates the same way and requires the current that actuates the gauge to pass from the float arm to the sender body through the area where the arm rotates in the body.
After tracing the electrical path in the Smiths sender unit, I realized the purpose of the sender unit modification that I had noted on the MGA so many years ago.
As the unit ages clearance develops in the pivot and, over time, fuel evaporating off the surface inside the hole in the body leaves a “varnish” that coats most of that surface. This varnish is an insulator and as the gauge arm moves within the hole in the body the circuit makes and breaks randomly as it rotates within this “varnish” and it is this action which makes the movement of the gauge needle so erratic.
The obvious solution was to provide a more stable path for this current and this, as I had noted on the MGA’s sender unit, was easily achieved.
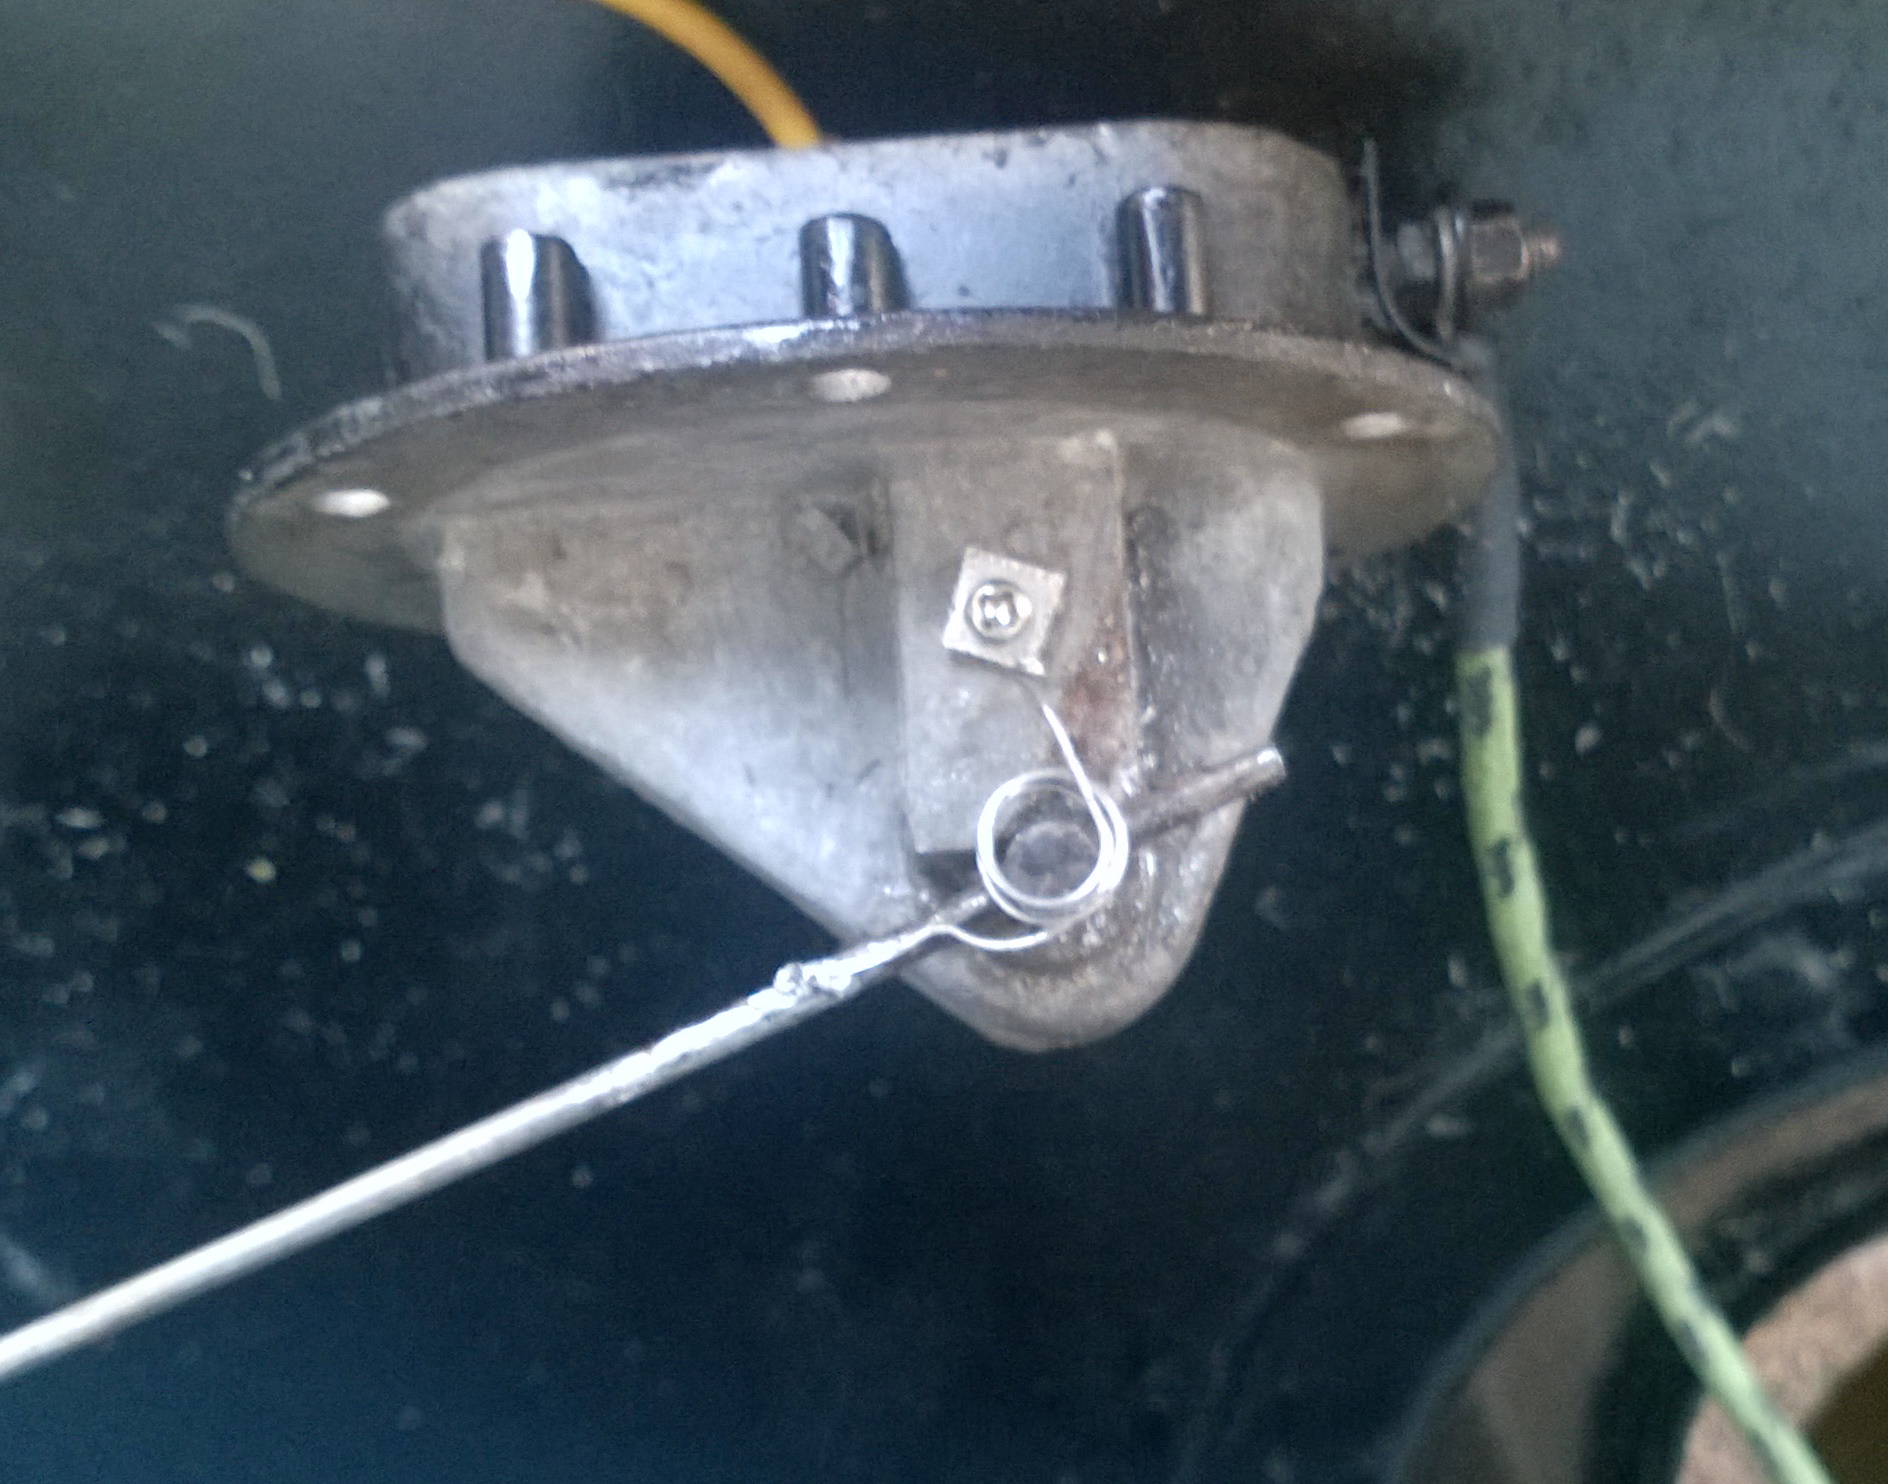
The Modified Sender Unit
I wrapped a short length of a single strand of thin zinc plated brass wire around a nail to produce a few coils then attached one end to the body, using a small self-tapping screw and washer (the only one that I could find that was small enough was square), and soldered the other end to the float arm. The purpose of the coil was to allow the wire to flex throughout the range of movement of the float arm without fatiguing and breaking.
The result was nothing short of miraculous!! As can be seen in the attached video the gauge needle is very steady and accurately shows the level of fuel even over a very rough section of roadway. (My driveway!!!)
What guage wire, does anyone have source for zinc coated brass. I assume just solid brass ok since it doesn’t spark
I was wandering the same thing, so I’ve asked Michael and this was his response:
“I just happened to have that particular wire to hand when I was doing the job. Upon reflection a very fine braided wire as is used in Lucas distributors would probably be best. My repair has lasted at least 13 K miles now so I’m confident in the concept but it’s obvious important that the wire is very flexible.”
liked your fuel gauge solution. I’m going to try it
Good info. Lucky me I recently found your
website by accident (stumbleupon). I have saved
as a favorite for later!
hello I am looking for a smith fuel gauge for 1965 Austin healey bj8 Blackfaced. If anyone has one and its in working order please let me know
Seeing is believing……………I will be doing this modification this winter when my car is not being driven. I have a 1066 BJ8 and I am sure this will help the bouncing needle.
Thanks for sharing !!
If you have a BJ8 3/8 inch belt rebuilt water pump for sale please let me know, I would like to purchase an original cast iron pump either rebuilt of one in rebuild-able condition.
Thanks again for all the information.
John Bahe
Louisville Kentucky 40207